Exporting Data from IN, Indianapolis –Connect MLS
Connect MLS
In
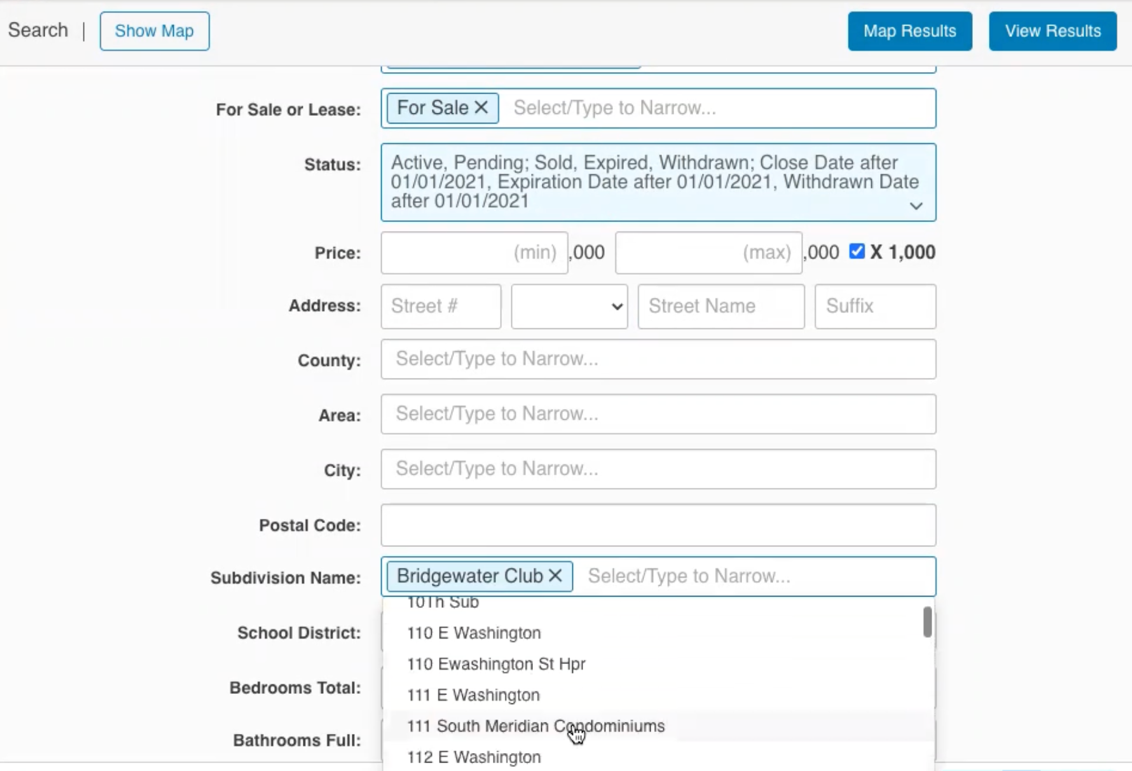
selecting data from Connect MLS be sure to select the two options below:

Select
all status activity for the last two years.
Make sure that all the status options are selected (don’t need to select
rental activity). Then search for all
activity for the last two years. These
options will make sure that all the data that is needed to create the
appropriate graphs, is collected.
You
should also make your normal selection choice by selecting other options that
you would normally select in doing a CMA.
As mentioned earlier, looking at activity in specific subdivisions or
neighborhoods is a good starting point or use the map search feature to find
all the activity near the subject property.
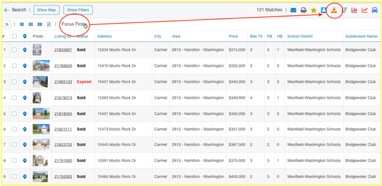
Once
you’ve selected the search criteria, you may download your results. Click the “View
Results” button. Once on the results page click Modify Columns> Edit
Columns.

In
the table name enter “Focus 1st”, then select from Available Fields
to Currently Selected Fields exactly as shown below. Remove those not on the
list below. Once you have added all the fields below, click the “Save” button.
This is a one-time action and you will not need to
Modify Columns moving forward.
Required MLS Fields
·
Address
·
Architectural Style
·
Basement Y/N
·
Baths Total
·
Bedrooms Total
·
City
·
Close Price
·
Close Date
·
Days On Market
·
Garage Spaces
·
Levels
·
List Price
·
Listing Contract Date
·
Listing ID
·
Lot Size Acres
·
Original List Price
·
Off Market Date
·
Purchase Contract Date
·
Sq Ft MU
·
SqFt Total
·
Status
·
Subdivision Name
·
Unit Number
·
Year Built
After
you have clicked save as mentioned above, you can now export your MLS data. Be
sure you have selected the Focus 1st format and click the download
button.
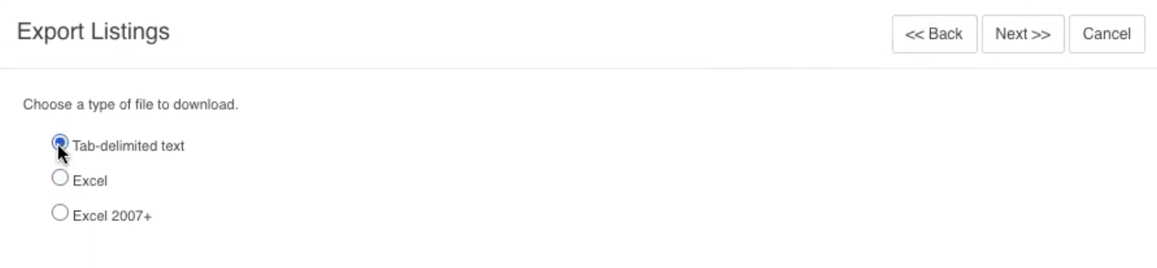
Then
press the “Next” Button. After you press
the “Next” button, you will see a screen similar to
that below.
 Select the “Tab-delimited text” format. This is format you want to use, so select the
“Next” button.
Select the “Tab-delimited text” format. This is format you want to use, so select the
“Next” button.
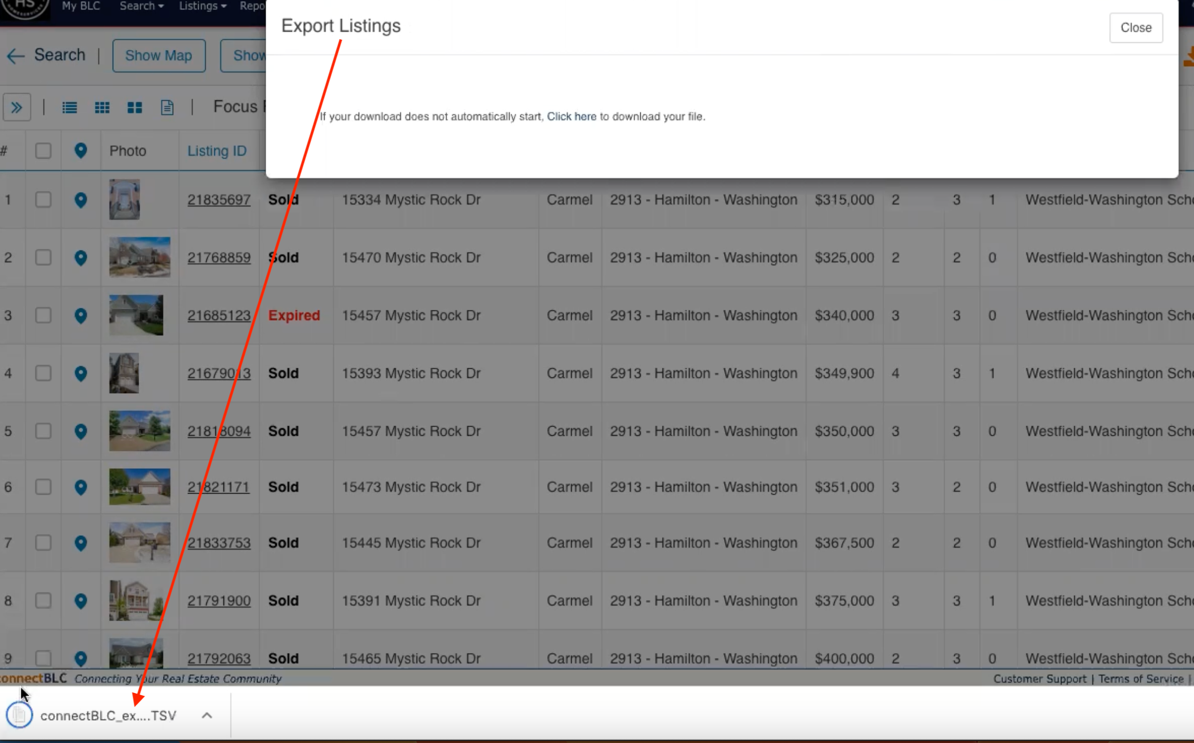
Once
you select the “Next” button, you will see a screen similar
to that shown below and your file is now in your downloads folder as a
TSV file. Depending on how your browser is set up it may prompt you to save the
file. Just remember where you saved it to as you will need to upload this file
to Focus 1st Pricing.
Once
you have saved your exported file, you are ready to run your application. When you run the application you will need to
find to the exported data file, so make sure that you’ve placed the file in an
easy to find place.
For
instructions on how to run your application, be sure to see the tutorial on the
Focus 1st YouTube
Channel.