Exporting Data From NJ, NJMLS
New Jersy MLS
In selecting data from Matrix, you will want to select all status activities in
the last two years. Be sure to select the options below:
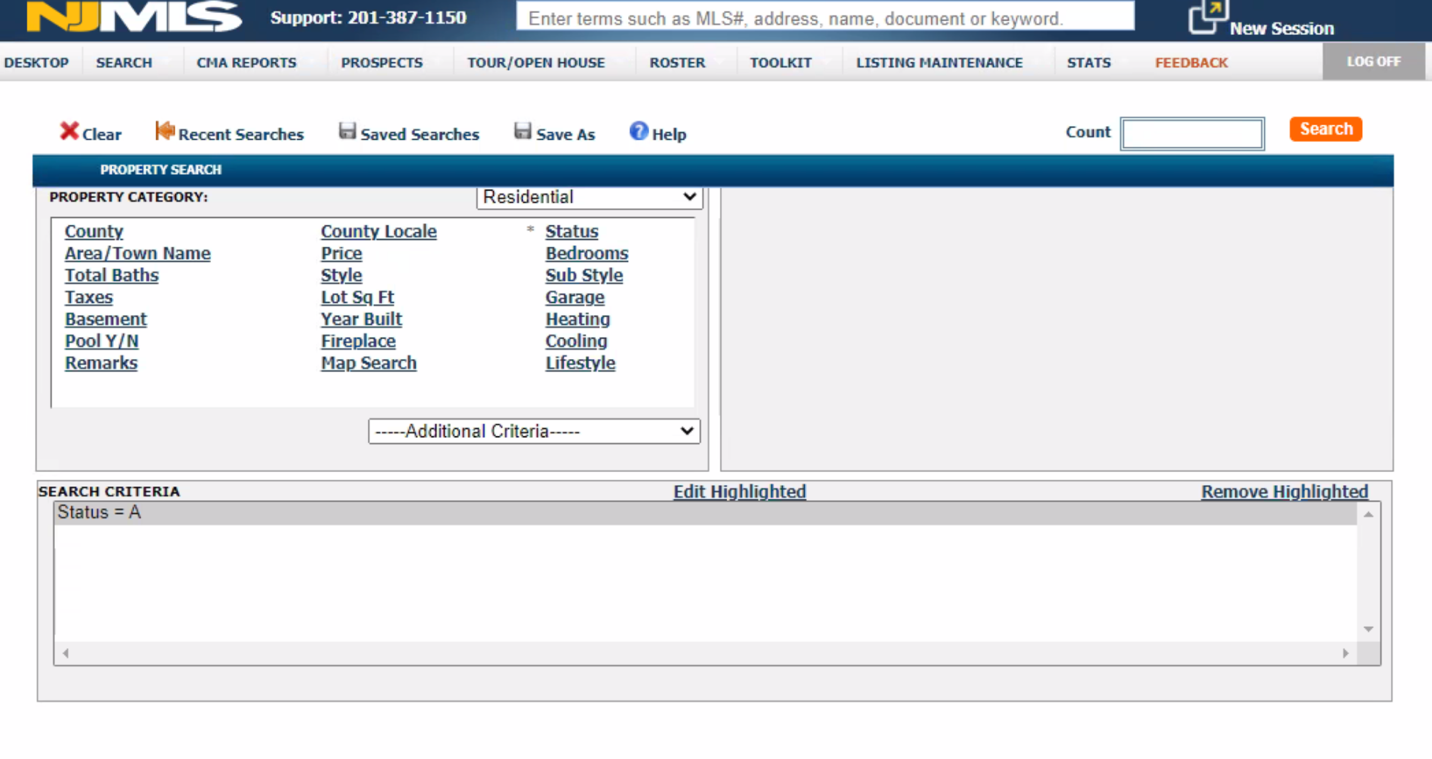
Select the “Status” link (located in the Property Category area)
and be sure to select the “All” options to select all status activities.
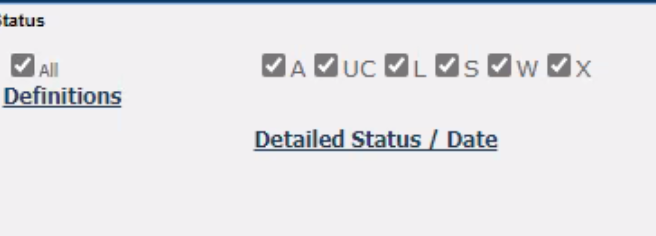
Once you’ve selected “All” status activities,
then select the “Detailed Status / Date” link to select the data for the last two years.
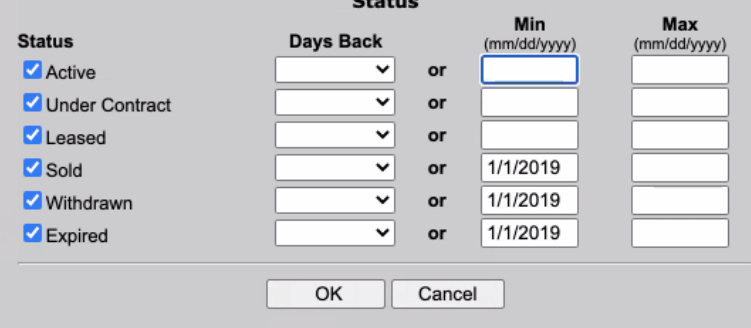
In selecting that data for the last two years, go back the start of the year (January 1st).
The Patterns show most effective when you start at the beginning of the year.
As an example, if these were September 2021, we would want to include all data starting at
January 1, 2019.
Also, if this were March 2022, we would still include data starting at January 1, 2019.
If you are not sure how far to go back, including more data is generally a good strategy.
Data older than two years (or so) will be truncated.
You should then make your normal selection choices by selecting other options that
you would normally select in doing a CMA to match the “customer profile”.
In most cases, this should be based on location.
While you can choose the “County/Locale” option to select an area,
you may decide to use the map function to select an area that way.
When using the map function be sure to focus on “natural boundaries”.
These would be major streets, green belt area, water, etc.
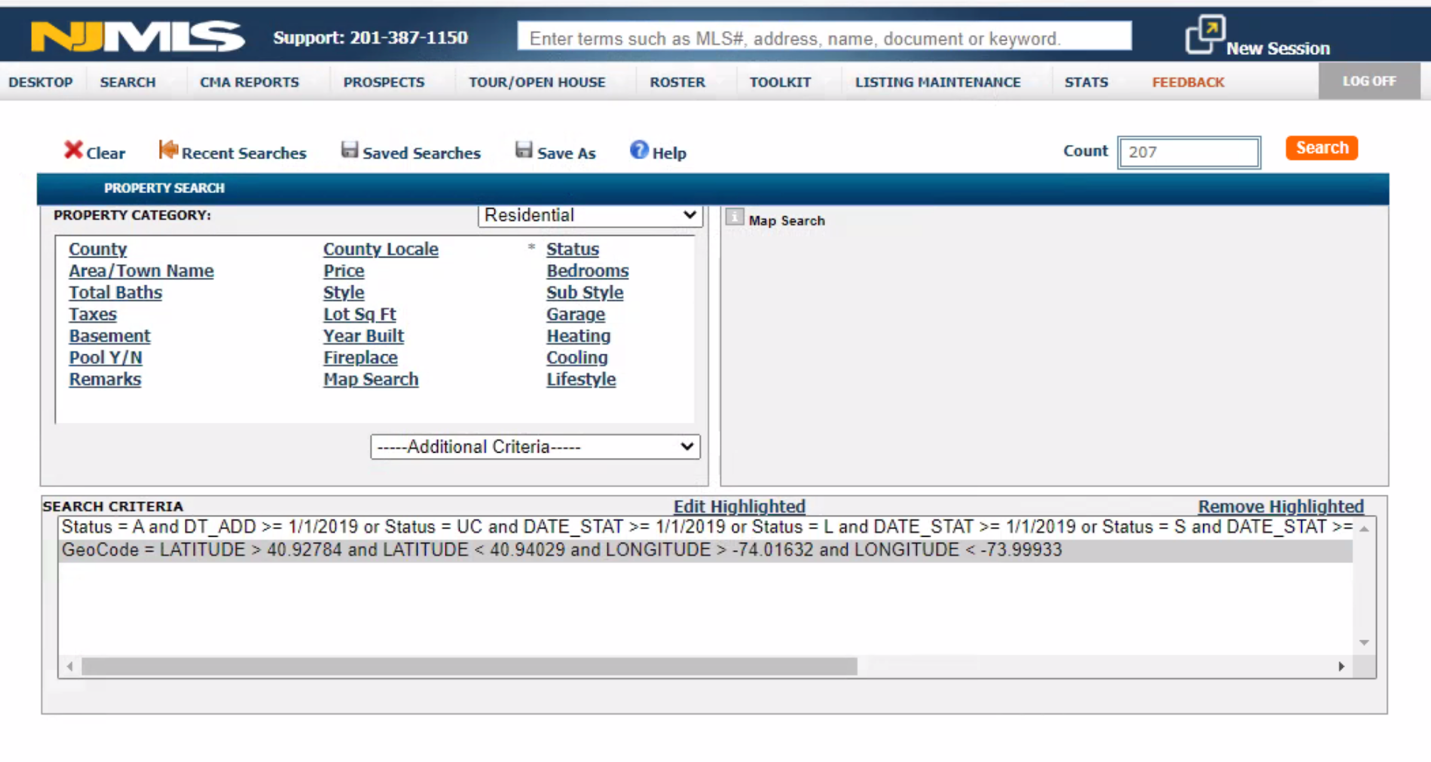
Once you’ve selected your search criteria,
select the “Search” button to see the results.
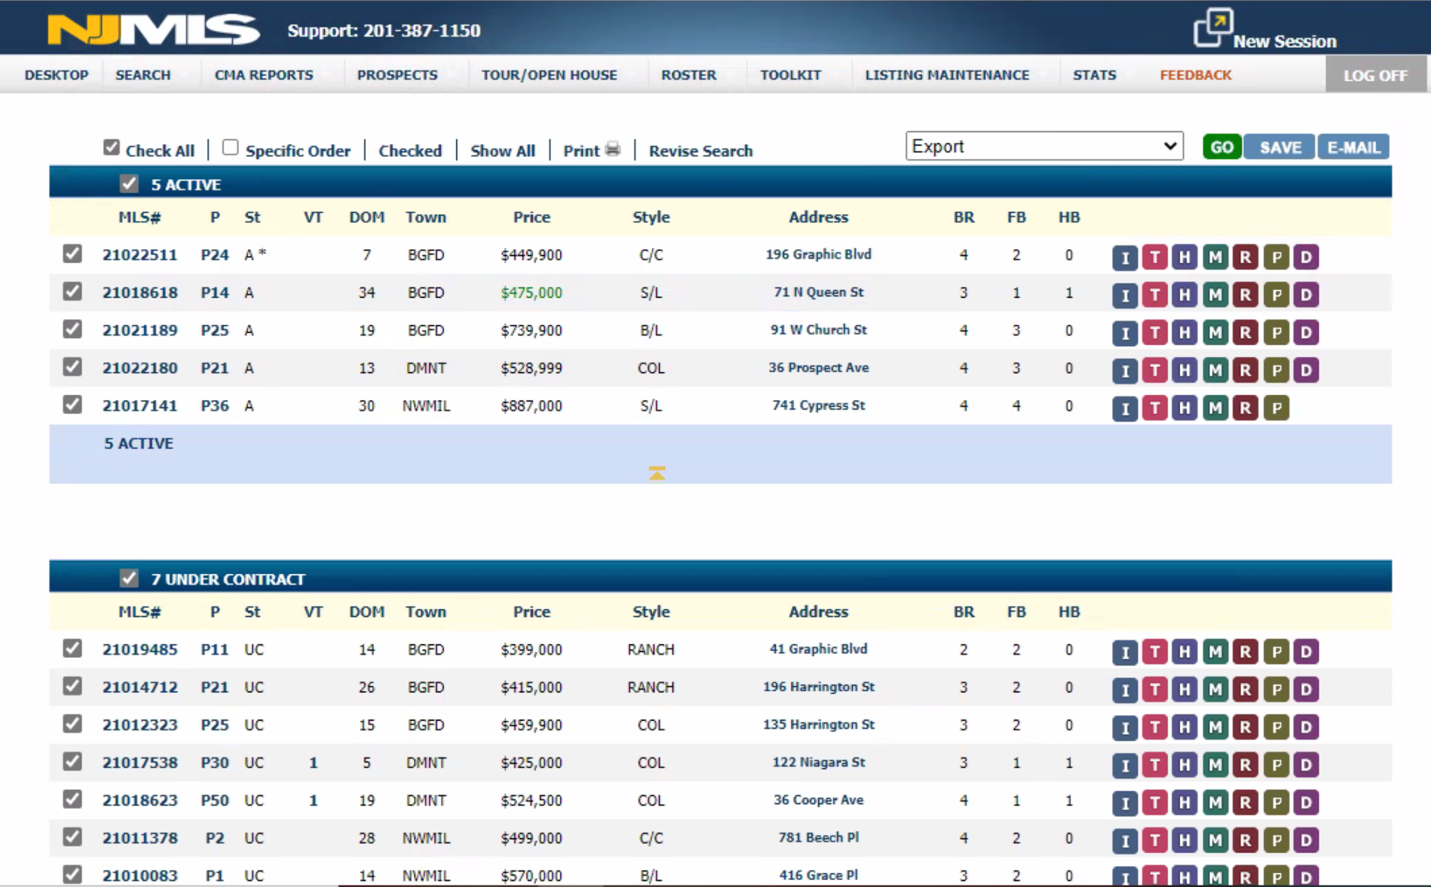
Once you have your results you are ready to export those results.
First be sure to select all the results by checking the “Check All” box.
You will then see all the results have been selected.
To export those results, select the down arrow option
(located in the middle just above the results),
to see the option that are available.
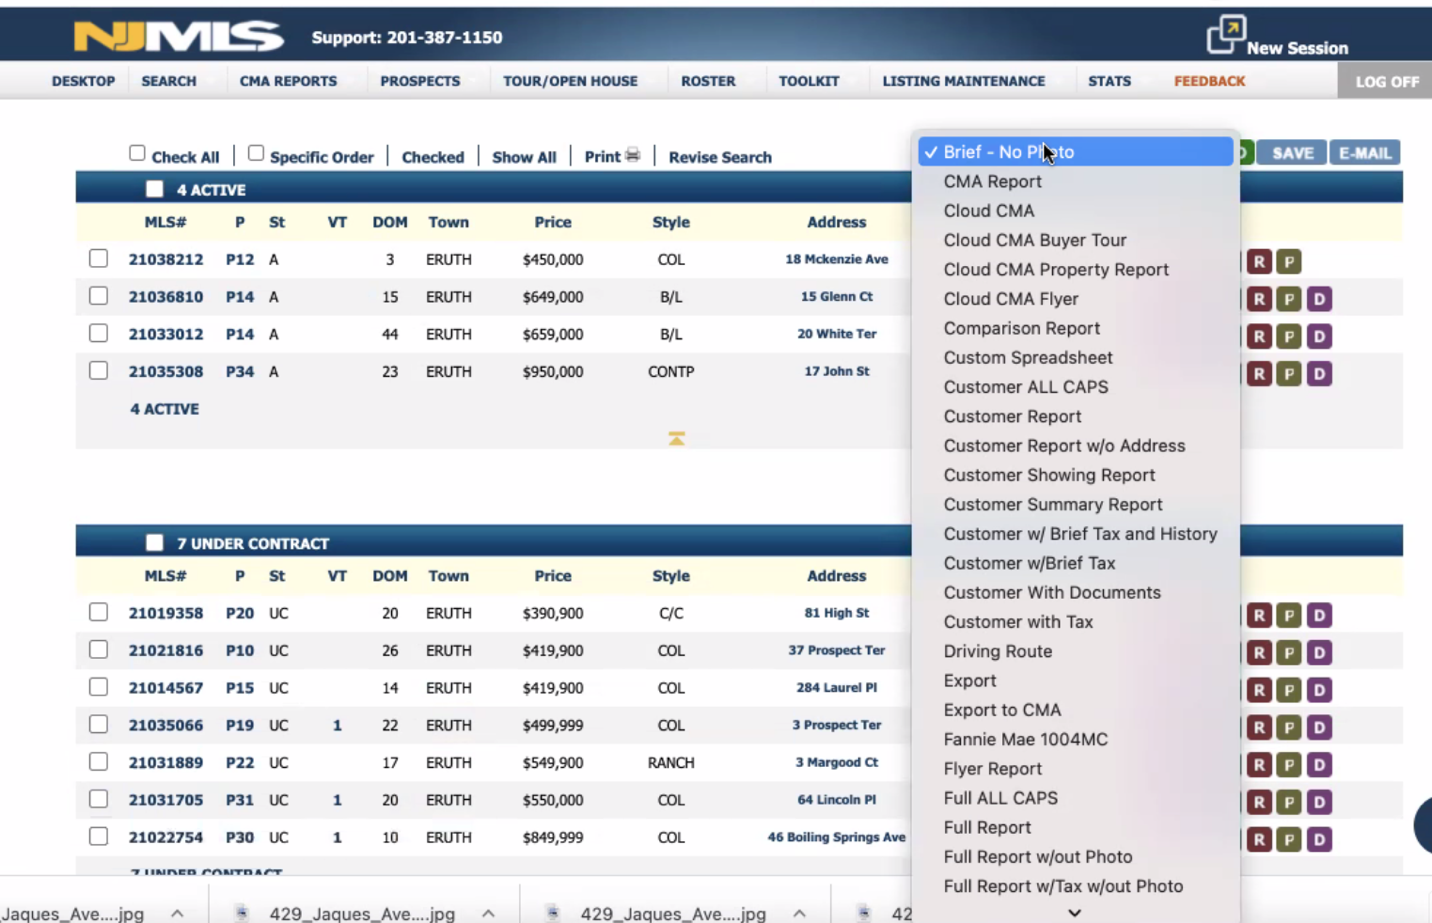
Once you select the drop-down options to show the options and select the “Export” option.
Once you’ve selected the “Export” option,
select the green “GO” button next to the down arrow option.
After you select the “GO’ button, you will see the Export Dialog box as shown below.
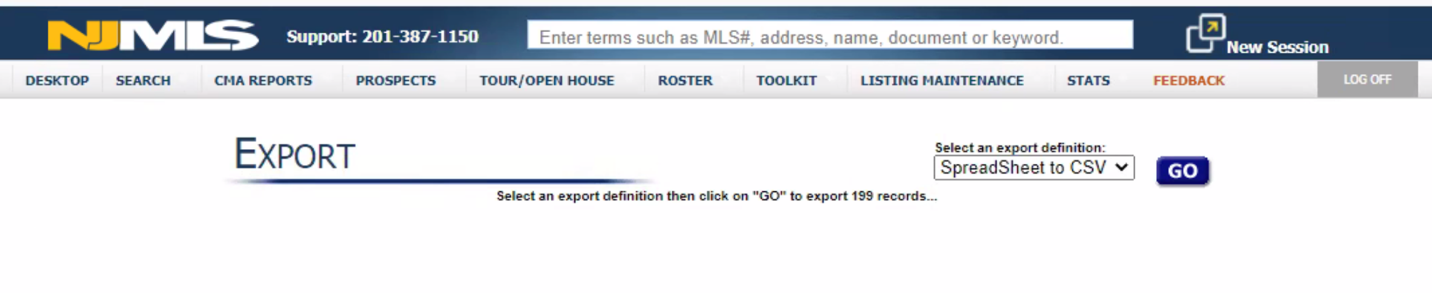
Then using the drop-down options,
select the “Spreadsheet to CSV” option, then select the “GO" button.
Once you select the "GO' button,
Your download will start.
Once you have saved your exported file, you are ready to run the Focus 1st Pricing application.
When you run the application, you will need to read in the exported file,
so be sure to notice where the file is saved to. In many cases, the files is saved in the
"download" directory.
For information on how to run the application be sure to see the
Focus1st Pricing Tutorials.